Same Model, Same Prompt — Why 'Harness Engineering' Decides Success or Failure
The same LLM model and prompt can fail or ship depending on harness design. A guide to the five harness subsystems — instructions, tools, environment, state, fe
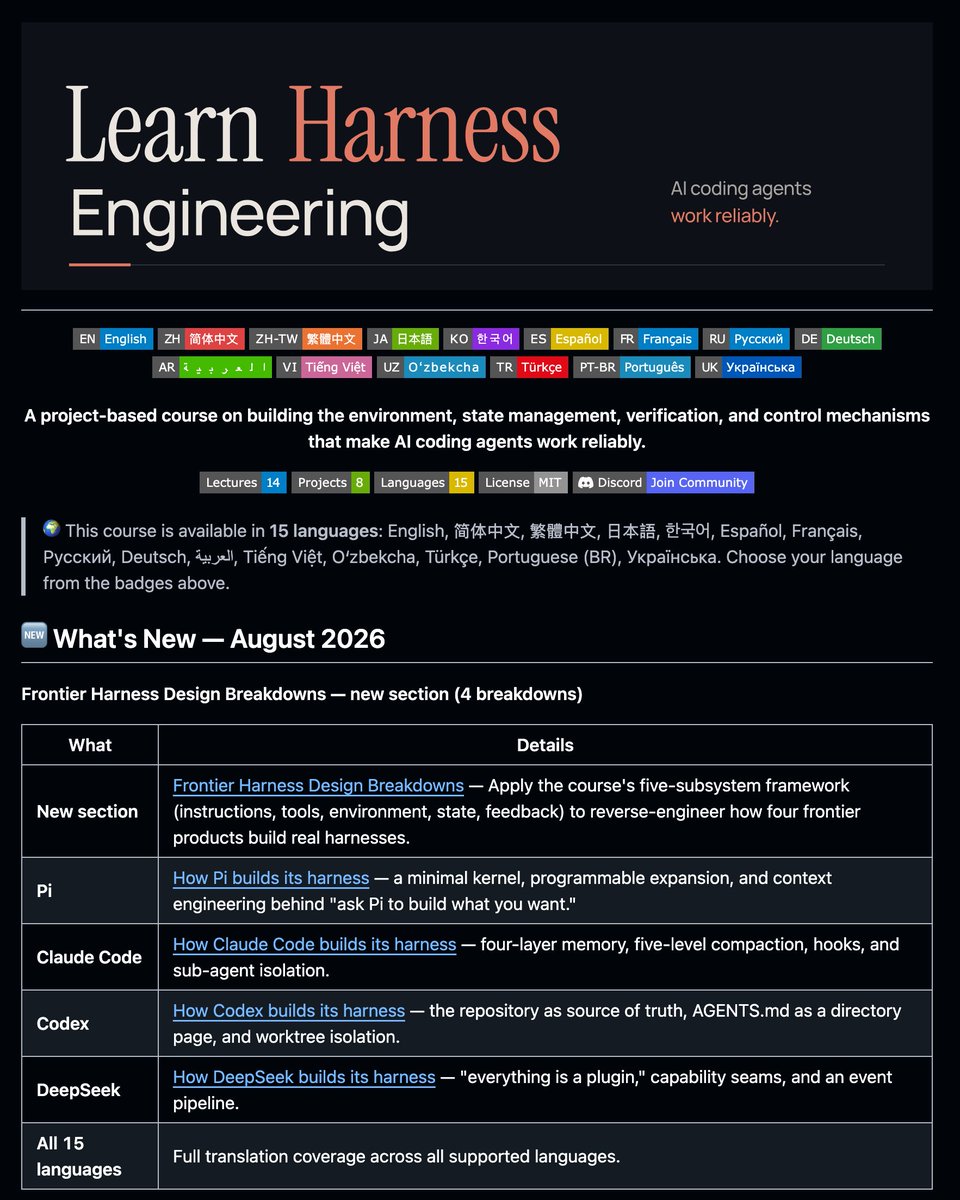
This is a faithful rundown of the free starter course walkinglabs/learn-harness-engineering, introduced on X by its original poster @0x0SojalSec. The course opens with a striking claim: give two setups the same model and the same prompt, and one fails in 20 minutes while the other ships a working game. The difference, it argues, was the harness.
Image source: @0x0SojalSec via X
A Harness Is Not a Prompt File: Five Subsystems
The course gives "harness" a precise, actionable definition. A prompt file is not a harness. A harness is five subsystems that make an AI coding agent work reliably.
- Instructions: structured guidance living in the repository. The course highlights the principle that "the repo IS the spec."
- Tools: the means the agent can actually invoke.
- Environment: an isolated, reproducible workspace where the agent runs.
- State: management of progress and shared context.
- Feedback: results flowing back through verification and observability.
Each subsystem carries clear responsibilities and evaluation criteria, and together they form the backbone of the whole course.
Four Stacked Layers and the Three Parts of an Autonomous Loop (/goal)
The course stacks the agent workflow into four layers: prompt at the bottom, then context, then loop, with graph at the top. The harness is the foundation; loops and graphs are built on it.
Moving from manual prompting to autonomous loops is the focus of the later lectures. The example given is the /goal feature that Claude Code and OpenAI Codex independently shipped in early 2026: type a goal into the terminal, and the agent analyzes, codes, tests, fixes, switches approaches when stuck, and stops when done. According to the course, an autonomous loop consists of exactly three parts.
- Goal: what must be achieved.
- Verification method: how to judge whether the goal was met.
- Independent stopping condition: ending the loop without human supervision.
One step further lies graph engineering: making the structure hidden inside the loop explicit as nodes, edges, shared state, and routing rules, practiced by drawing a maker-checker loop and adding parallel fan-out and conditional rollback.
Free Course Layout: 14 Lectures and 8 Projects
This is a free, project-based course covering loops, graphs, verification, and observability across 14 lectures and 8 projects. It presents how Claude Code, Codex, and DeepSeek actually build, and is offered in 15 languages including Korean and English.
The suggested path starts with the definition of a harness, builds up environment, state management, verification, and control mechanisms, and closes with hands-on projects: building a first automated loop and drawing a first graph. The course's message is that before reaching for a more expensive model, the problem may not be the model at all. Note that the opening "same model, same prompt — one failed, one shipped" comparison is presented as a reported application comparison, not as an equal-budget controlled experiment isolating a single harness component.
Original source
- Original post by @0x0SojalSec: Learn Harness engineering, beginner tutorial, from 0 to 1
- Free course repository: walkinglabs/learn-harness-engineering